×
Menu
Index

Align toolbar

Align toolbar
1

Align Left button

1. Align Left button
Align the left edges of all the selected elements to the left edge of the first selected element.
2

Align Right button

2. Align Right button
Align the right edges of all the selected elements to the right edge of the first selected element.
3

Align Top button

3. Align Top button
Align the top edges of all the selected elements to the top edge of the first selected element.
4

Align Bottom button

4. Align Bottom button
Align the bottom edges of all the selected elements to the bottom edge of the first selected element.
5

Align to Grid

5. Align to Grid
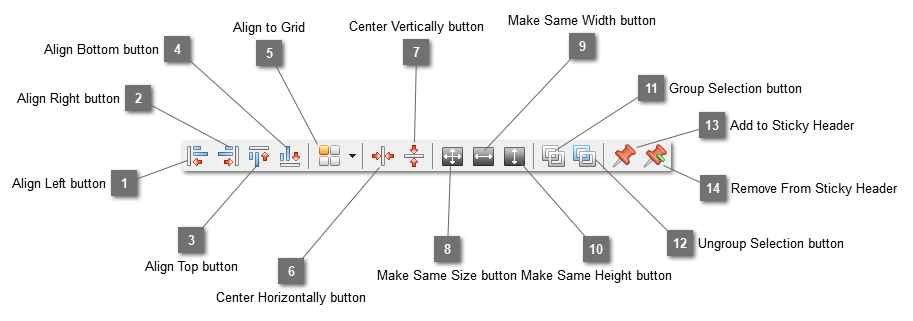
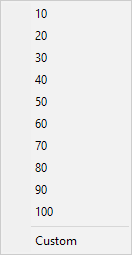
Align the selected elements using the spacing predefined in the drop down menu as shown below or choosing custom to set it in the Align to Grid Dialog. The predefined spacing can be set under the preference item Align to Grid.
 
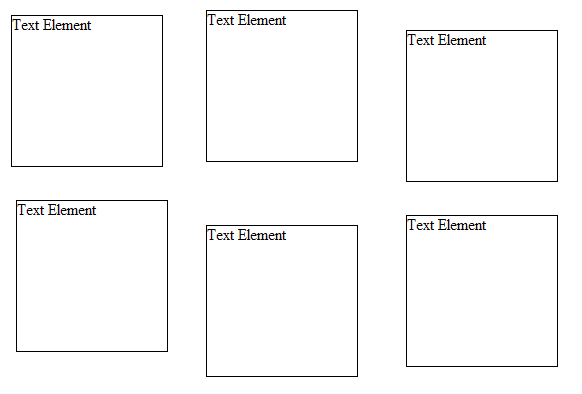
The example below shows how to use this function. Suppose we have six text elements added on a page like the following.
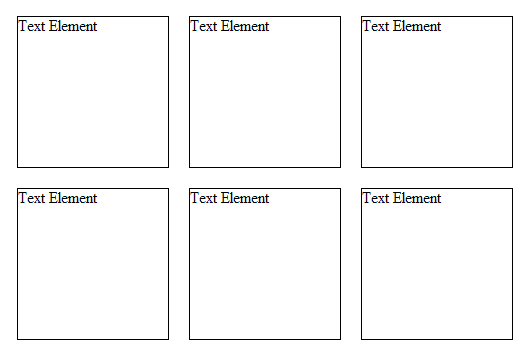
Though we can align them manually one by one, using this function will make the task more easier. Selecting all the elements above and apply this function by selecting "20" from the drop down menu. They will be aligned as follows:
 
6

Center Horizontally button

6. Center Horizontally button
Center all the selected elements horizontally to the first selected element.
7

Center Vertically button

7. Center Vertically button
Center all the selected elements vertically to the first selected element.
8

Make Same Size button

8. Make Same Size button
Resize all selected elements to the same size as the first selected element.
9

Make Same Width button

9. Make Same Width button
Set the width of all selected elements to the width of the first selected element.
10

Make Same Height button

10. Make Same Height button
Set the height of all selected elements to the height of the first selected element.
11

Group Selection button

11. Group Selection button
Mark the selected elements as a single group so that when one of them is selected, all will be selected.
12

Ungroup Selection button

12. Ungroup Selection button
Separate the grouped elements.
13

Add to Sticky Header

13. Add to Sticky Header
Stick the selected elements on a page. They will not be moved when the page is scrolled. Only elements at the top of the page can be added.
14

Remove From Sticky Header

14. Remove From Sticky Header
Remove all elements from the sticky header.