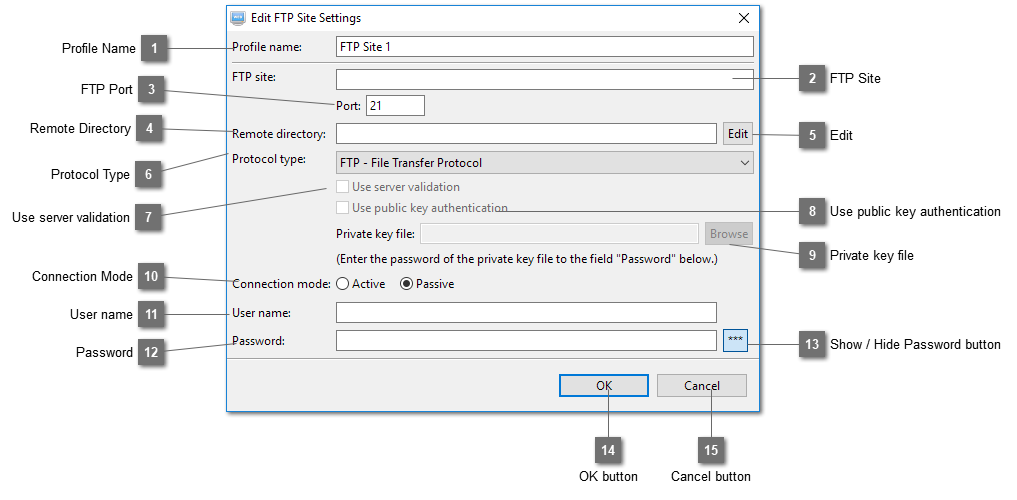
The default value for FTP is 21, SFTP is 22, FTPS (Explicit) is 21 and FTPS (Implicit) is 990. If your web hosting provider gives you another port number, enter it here.
If the FTP site already points to the root directory of your web site, you do not need to enter the remote directory. Otherwise, enter it here. For example, your provider gives you this FTP site, let's say "www22.webhostdomain.com" and the root directory of your website is at public_html. Then all your website files should be placed within this directory "public_html". In this case, enter "www22.webhostdomain.com" into the field "FTP site" and public_html into the field "Remote directory". If you want to publish a website to a directory in "public_html", you can add one by separating it with a comma or click on the "Edit" button at the end to add it. For example, assume the name of the directory is "sample-site-1", you can add it like this "public_html,public_html/sample-site-1". So the same profile can be used to publish a website to "public_html" or "public_html/sample-site1".
Select which protocol to use. FTP, SFTP, FTPS (Explicit) and FTPS (Implicit) are supported. We would suggest that SFTP or FTPS should be used if your web hosting account supports this. It is more secure as your user name and password will be sent through SSH or SSL/TLS which are encrypted. If FTP protocol is used, your user name and password will be sent in plain text.
This option is used only when SFTP or FTPS (Both Explicit and Implicit) protocol is selected and is selected by default. When this profile is saved, the program will try to connect to the internet and get the public key/certificate from the SFTP or FTPS site. If the public key/certificate can be found, it will be saved so that next time it can be used to validate that the same server is connected again.
Select the private key file for SFTP login when using public key authentication. If the private key file is password protected, enter the password to the "Password" field below.
This option is only applicable to protocols FTP, FTPS (Both Explicit and Implicit). The default setting is Passive. This has to be so if your connection is behind firewall.
Enter the login password of your FTP site. If public key authentication is used in SFTP, enter the password of the corresponding private key here if it is password protected. You can leave it blank and enter it when you publish your website.