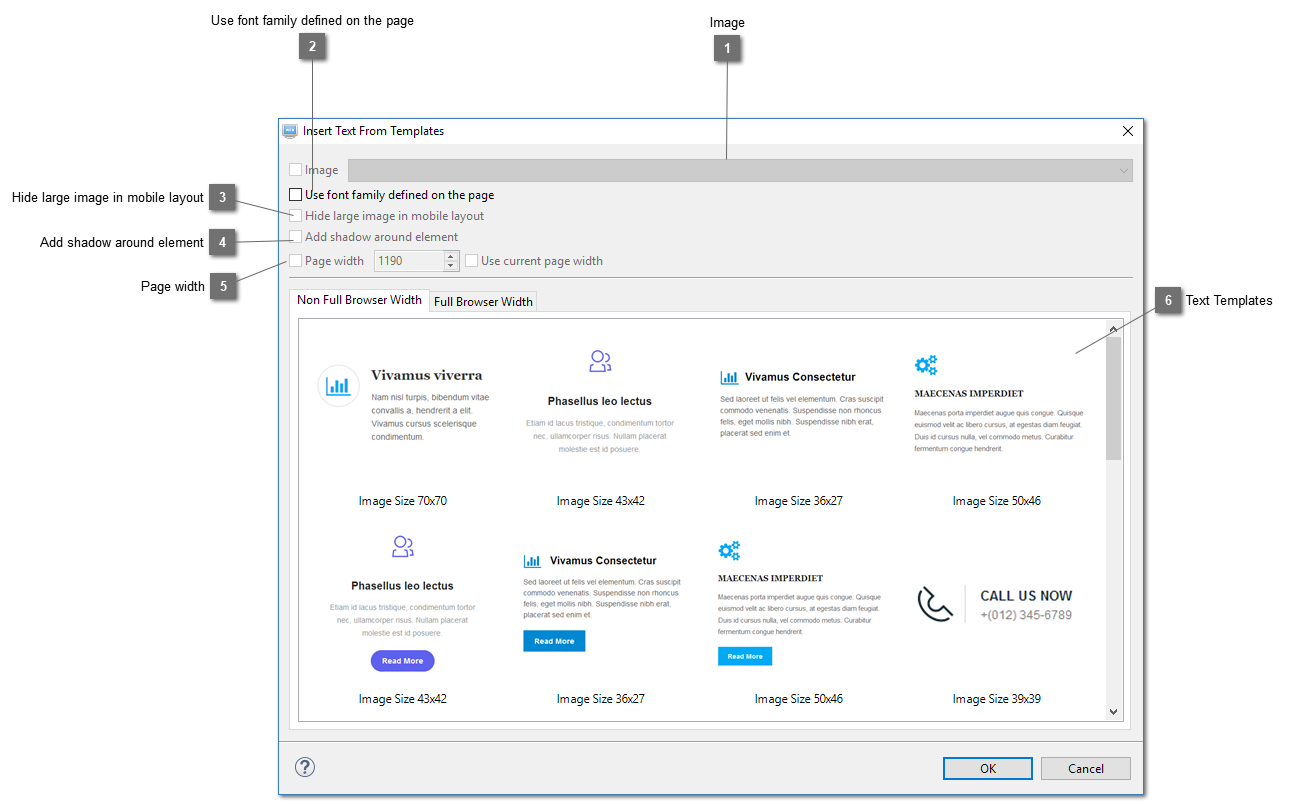
Select an image to replace the one shown on the selected template. The size of the image used is shown below the screen shot. If no image is selected, a sample image as shown on the screen shot will be used. You can replace it with your own image after the text element is inserted on the page and then you can delete the sample image.
If you have defined font families for your headings and paragraph on the page, you can select this option so that the font families used by the text template will not be added and the ones defined on your page will be inherited by the inserted text element.
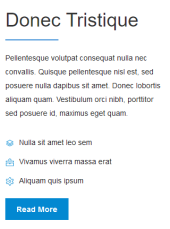
For text templates that support this option, the large image can be hidden in mobile layout by selecting it. So in mobile devices, only the text is shown but the others will show both like the followings:
The following will be shown on desktop and tablet devices.
This one will be shown on mobile devices with width 320px if the option is selected.
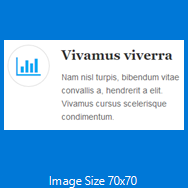
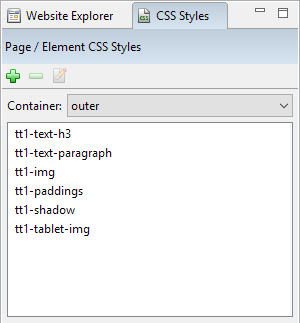
Select this option will add shadow around the text template. The styles of the shadow can be customized after the element is inserted on a page like adding shadow style to it manually.
For example if the following text template is selected, a shadow will be added around it like the one shown beside it.
There will be a specific style for the shadow "tt1-shadow" like the one shown below. Open it in the CSS Style Editor and you can customize the shadow. Removing that style will remove the shadow around the text element.
Select this option will use the specified width for the width of the element if that element support this option. It is usually used by elements that expand to the width of the page. This needs to be set because it will be used to calculate the width of your page. The default width is 1190. If the page has contents, selecting the option "Use current page width" will use the width of the current page. After the element is inserted, you can use the following steps to change the width of the element:
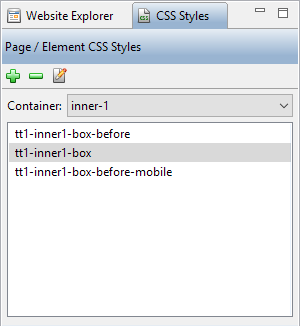
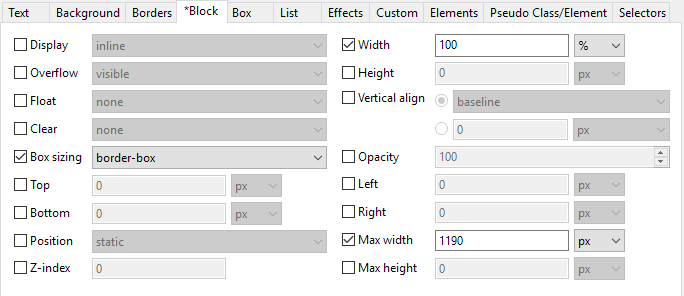
Select the text element. Select "inner-1" from the "Container" drop down menu. You will find the style similar to "tt1-inner1-box". Double-click on it and click on the tab "Block". Change the value of "Max width" to the new width of your page, for example 900px.
Right-click on the text element. Select "Expand to Browser Window Width" from the context menu. Deselect the option "Expand the width of this element to the width of the browser window". Resize the width of the element to the width of your page, for example 900 px. Then right-click on the element again and Select "Expand to Browser Window Width" from the context menu. Select the option "Expand the width of this element to the width of the browser window". Press the OK button to save the setting.
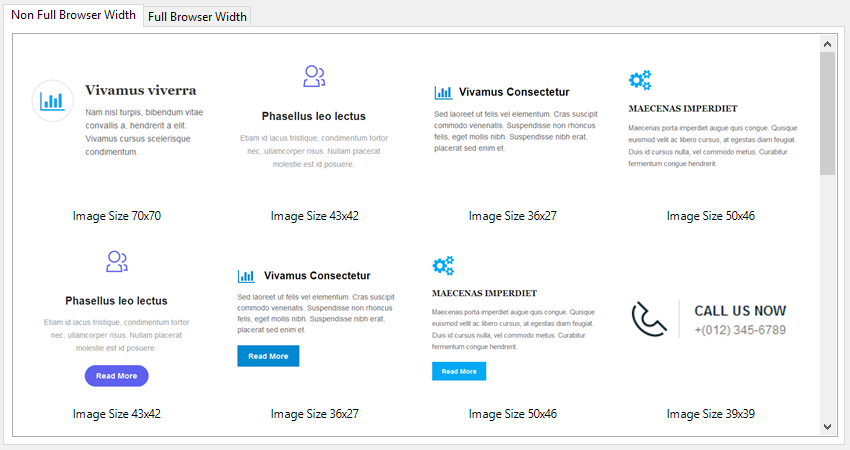
Show styled text templates in two types under two separate tabs, full width and non-full width. Full width show text templates that expand to the width of the browser window. Select the one you want and press the OK button to insert it on your page. If you need more than one of selected element after inserting it. You can copy that element and paste it on the page and then change its contents. Do not use this dialog to insert the text element of the same type as this will create the same styles but with different names. Just use copy and paste or "Copy Styles" and "Paste Styles" to create text elements with the same look.