The options selected on this dialog can be changed through the generated CSS styles after the text element is inserted on the page.
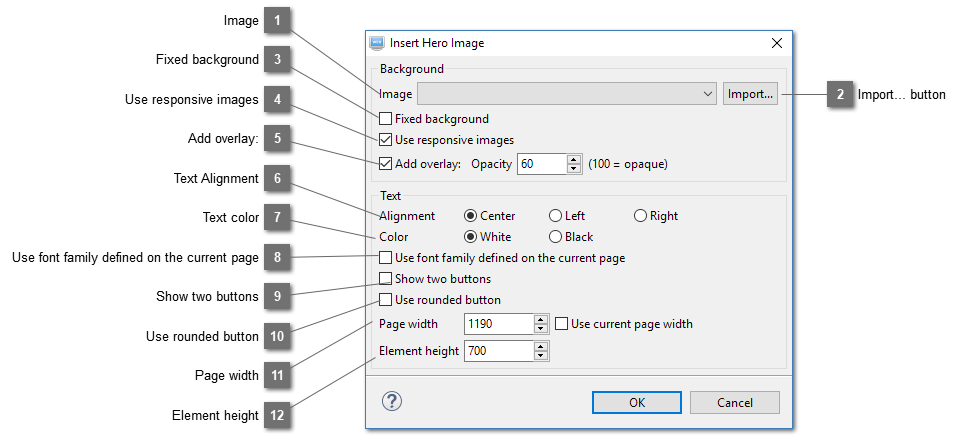
Image
Select a large image for the background of the text element. An image of size 1920x1080 will suffice. Too large will make your page load slowly and the browser will also need to resize the image to fit the screen.
Select this option to use responsive images for the background image. It is selected by default. Several smaller images will be created from the one you select on the field "Image". Browsers will select which image to load according to the width of the browser window. So small device like mobile phone will not load the one with width 1920 but a smaller version of it with width 320 etc.
An overlay with translucent color will be created to cover the original image so that black or white text will be more prominent as images usually have various patches of bright and dark areas. This option is selected by default. The left one is without overlay and the right one with. Please note that the overlay effect can only be seen when previewing as the Page Designer does not support color with alpha value.
If you have defined font families for your headings and paragraph on the page, you can select this option so that the font families defined on the sample text will not be added and the ones defined on your page will be inherited by the inserted text element.
Set the width of the page. The default is 1190. If the page has contents like using a template with elements on it. The current page width of your page will be used if it is 800 pixels or above. You can choose to use your current page width if it is below 800, just select the option "Use current page width". If your page turns out not this width after adding more elements later, you can change the width by following the steps below:
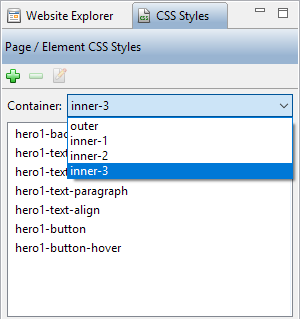
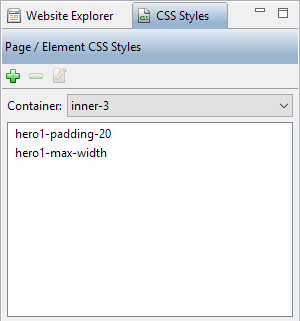
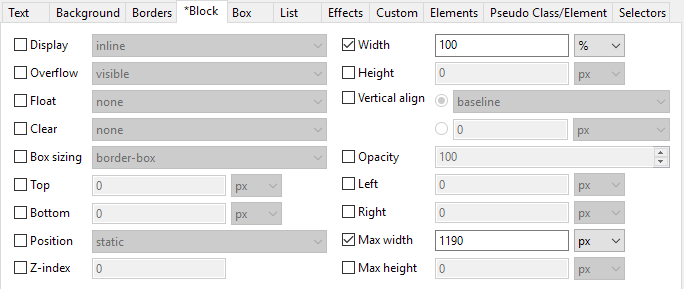
Select the hero image (text element inserted on the page). Select "inner-3" from the "Container" drop down menu. You will find the style "hero1-max-width". Double-click on it and click on the tab "Block". Change the value of "Max width" to the new width of your page, for example 900px.
Right-click on the text element. Select "Expand to Browser Window Width" from the context menu. Deselect the option "Expand the width of this element to the width of the browser window". Resize the width of the element to the width of your page, for example 900 px. Then right-click on the element again and Select "Expand to Browser Window Width" from the context menu. Select the option "Expand the width of this element to the width of the browser window". Press the OK button to save the setting.
Set the height of the inserted text element. The default is 700. If you decide to change it after inserting the text element, you can drag the bottom edge upward or downward to change its height.