This section will show how to wrap text around an image in a text element.
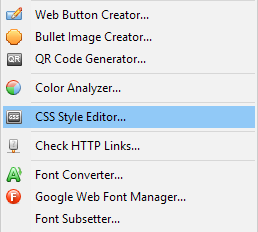
Select "Tools" > "CSS Style Editor" from the main menu or press this button on the toolbar.
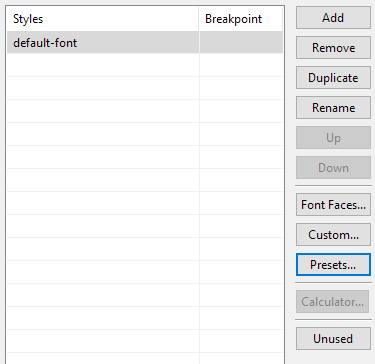
Click on the "Presets" button on the right of the "CSS Style Editor" to open the Preset Styles Dialog.
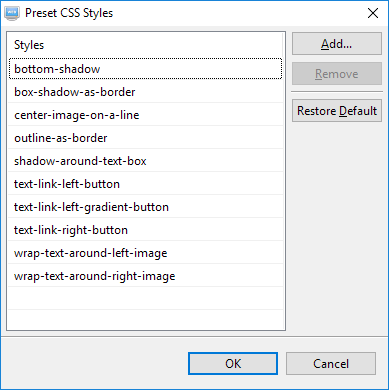
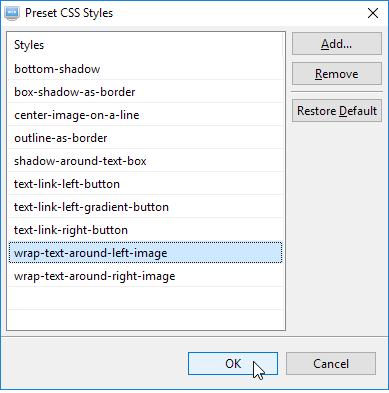
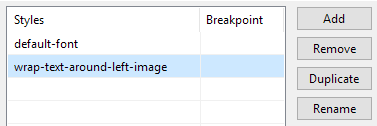
Select the style "wrap-text-around-left-image" and press the OK button.
Press the "OK" button to save the style.
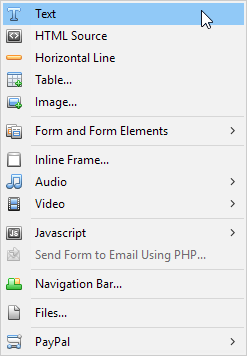
Insert a text element to a page by selecting "Insert" > "Text" from the main menu or press the corresponding button on the toolbar.
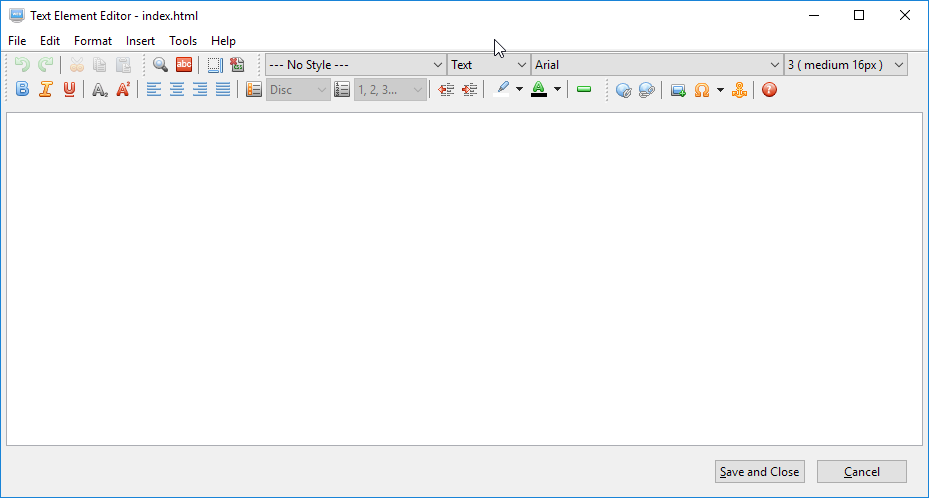
Double-click on the text element or right-click on it and select "Edit Element" from the context menu.
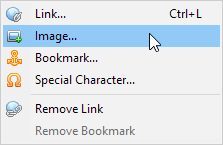
Insert an image by selecting this button or select "Insert" > "Image" from the main menu. Select an image of your choice.
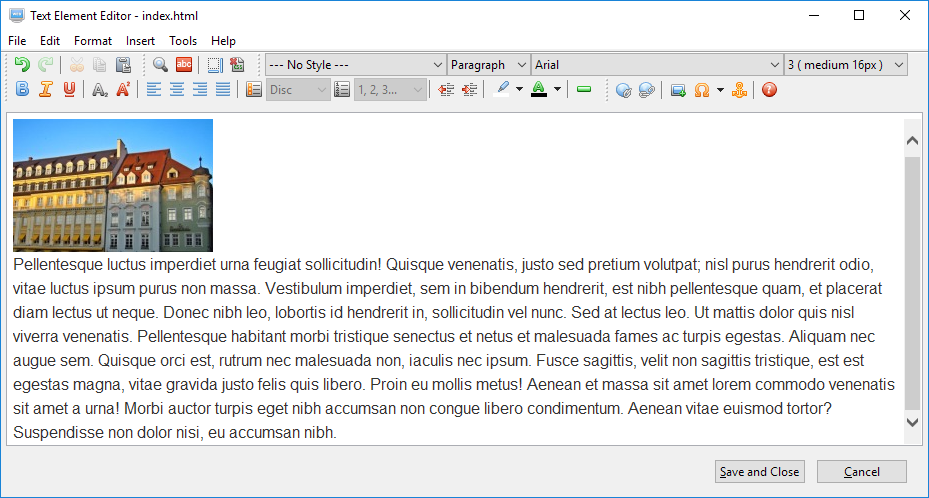
Place the cursor after the image and press enter. Insert some text. We use the following text as example:
Pellentesque luctus imperdiet urna feugiat sollicitudin! Quisque venenatis, justo sed pretium volutpat; nisl purus hendrerit odio, vitae luctus ipsum purus non massa. Vestibulum imperdiet, sem in bibendum hendrerit, est nibh pellentesque quam, et placerat diam lectus ut neque. Donec nibh leo, lobortis id hendrerit in, sollicitudin vel nunc. Sed at lectus leo. Ut mattis dolor quis nisl viverra venenatis. Pellentesque habitant morbi tristique senectus et netus et malesuada fames ac turpis egestas. Aliquam nec augue sem. Quisque orci est, rutrum nec malesuada non, iaculis nec ipsum. Fusce sagittis, velit non sagittis tristique, est est egestas magna, vitae gravida justo felis quis libero. Proin eu mollis metus! Aenean et massa sit amet lorem commodo venenatis sit amet a urna! Morbi auctor turpis eget nibh accumsan non congue libero condimentum. Aenean vitae euismod tortor? Suspendisse non dolor nisi, eu accumsan nibh.
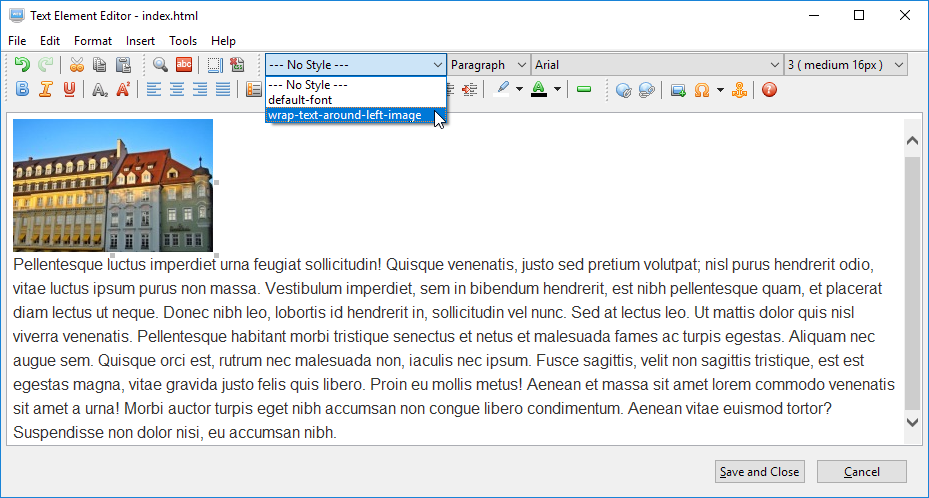
Select the image and select the style "wrap-text-around-left-image" from the drop down menu.
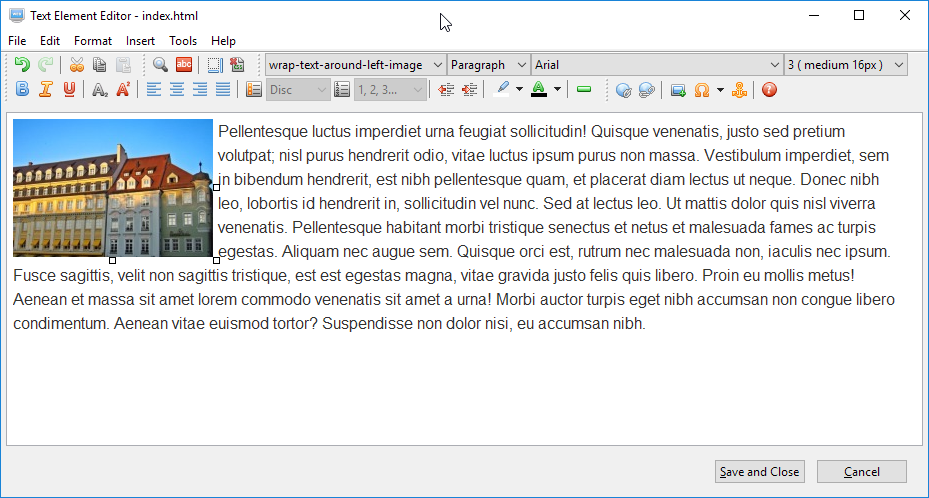
It will look like the following after applying the style.
Press the "Save and Close" button to save the text element.
You can change the margins between the image and the text by selecting the style "wrap-text-around-left-image" in the CSS Style Editor. Then click on the "Box" tab on the right and change the margins there. The same style can be applied to other text elements. There is another preset style "wrap-text-around-right-image" that works the same way except the image is on the right.