Style the text on a page to make it look more consistent across browsers
By default each browser uses a default font with certain size to show the text on a web page. As browsers use different settings as default, your page may look different across browsers. To handle this, you can assign a default font to your website so that the text will look more consistent across browsers. We will show you how to do this below. If you create a new website using our Blank Template, these steps have already been done. You may like to change the font used and also the size of the font.
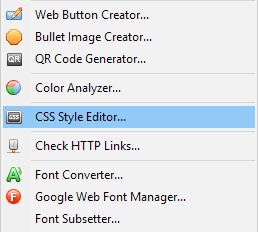
Select "Tools" > "CSS Style Editor" from the main menu or press this button on the toolbar.
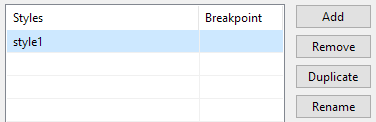
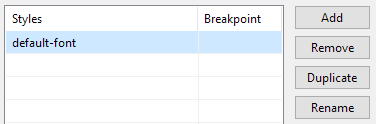
Press the "Add" button on the CSS Style Editor Dialog. A new style will be created. Press the "Rename" button and change the name to "default-font".
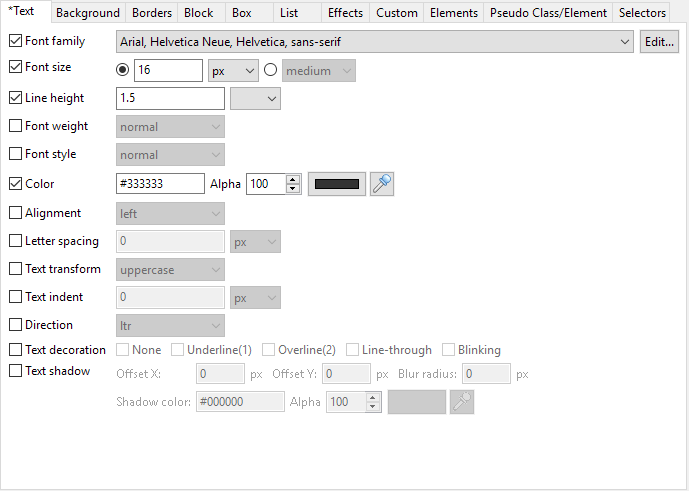
Select the "Text" tab on the left. Set the values as shown below. You can choose any set of fonts you like in the drop down list and change the font size to your like. We set the "line-height" to 1.5 to leave some spaces between lines. We also use #333333 for text color.
Press the "OK" button to save the style.
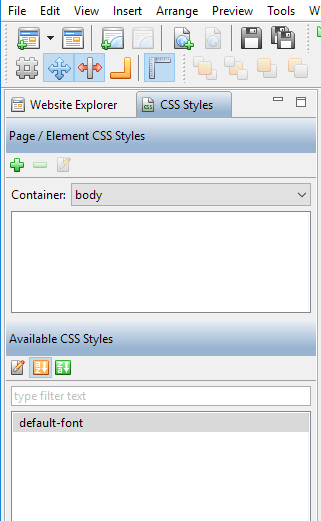
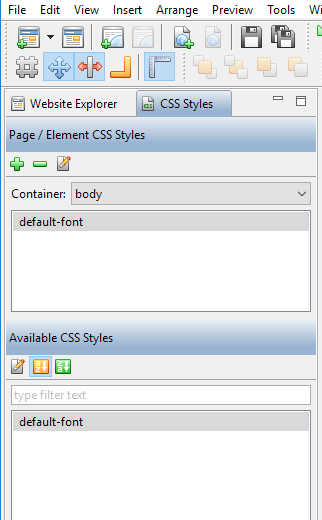
Open a template page if your website uses one or a normal web page. Click on the blank area of the page. Select the "CSS Styles" tab as shown below. Select "body" from the drop down menu of "Container". You will find the "default-font" style shown in the panel "Available CSS Styles". Drag it to the panel "Page / Element CSS Styles" above or to the blank area of the page to apply the style.