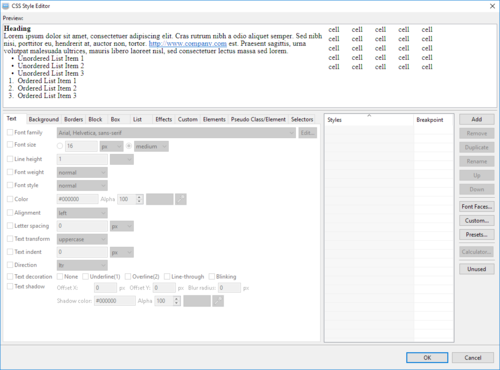
Open the CSS Style Editor by selecting "Tools" > "CSS Style Editor" from the main menu or clicking on this button on the toolbar.
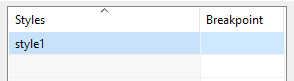
Click on the "Add" button on the right.
A new style "style1" will be created.
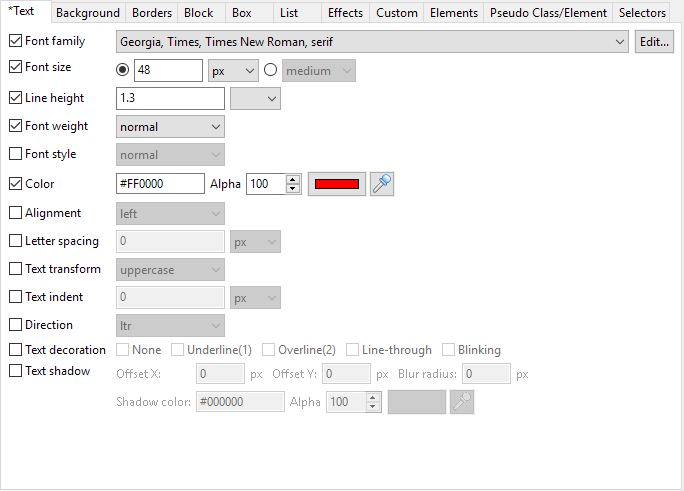
Select it and press "F2" or click on the "Rename" button on the right. Change the name to "heading-1"
Set the values as shown in the "Text" tab below.
When any values are set in a tab, the title will have an asterisk on the left like this.
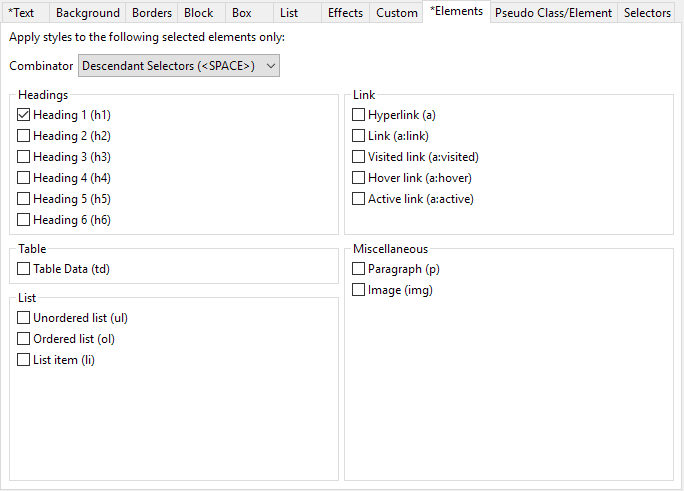
Now click on the "Elements" tab and select the option "Heading 1" as shown below:
Click on the OK button to save the settings.
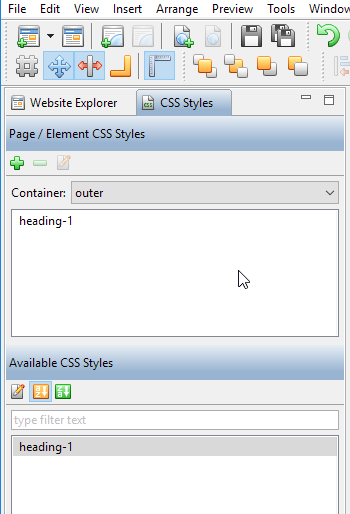
Click on the "CSS Styles" tab. You will find the newly created style shown in the panel "Available CSS Styles". To apply it to a text element. Just drag the style "heading-1" and drop it to that text element or if the element is selected, drag the style "heading-1" and drop it to the panel "Page / Element CSS Styles". Both will result in the following:
The style "heading-1" will be applied to the "heading 1" of the text element. You can refer this tutorial "Use heading tags" on how to add headings to a text element.