×
Menu
Index

Image Editor Dialog

Image Editor Dialog
1

Main toolbar

1. Main toolbar
2

Layers

2. Layers
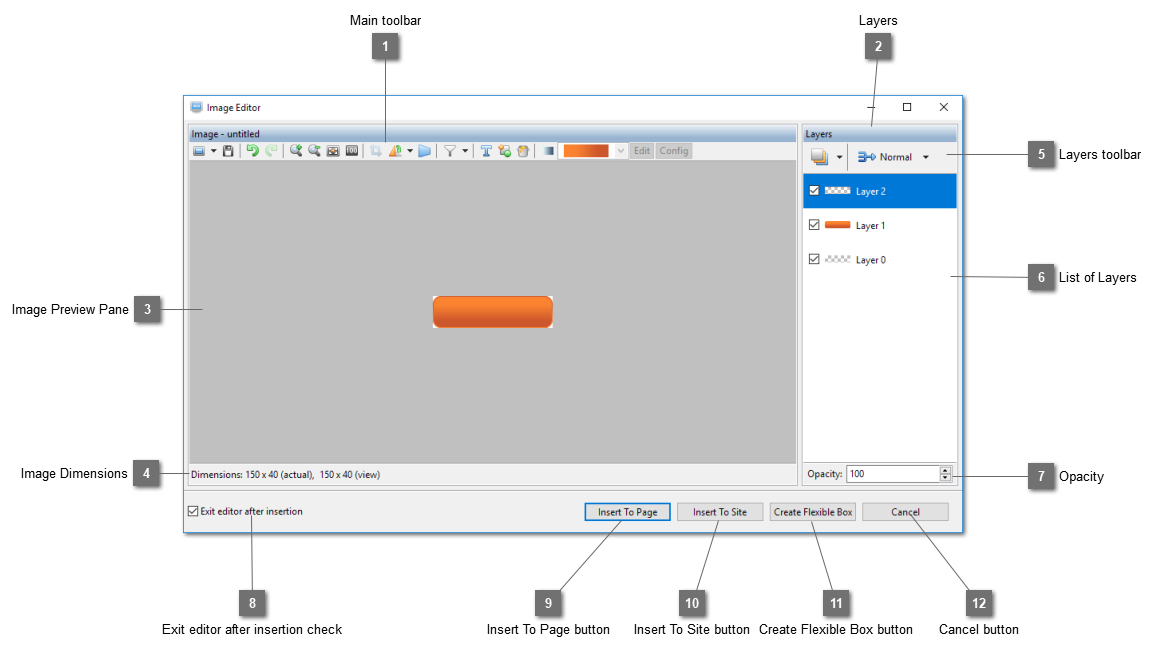
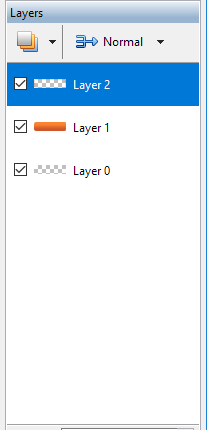
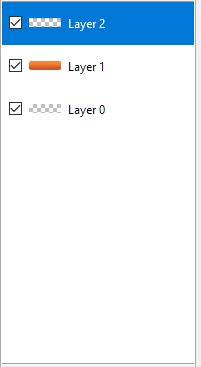
The Layers Pane is used to create new layer, select active layer and define blending mode for each layer. The final image will be created by combining each separate layer together using the blending mode of each layer.
3

Image Preview Pane

3. Image Preview Pane
Preview the image generated by combining all the layers using the blending mode of each layer.
4

Image Dimensions

4. Image Dimensions
Show the dimensions of the image. There are three types of dimensions. The actual shows real size of the image. The view shows the size of the image after it is magnified or shrunk. The selection shows only the size of the selected part of the image.
5

Layers toolbar

5. Layers toolbar
6

List of Layers

6. List of Layers
Show a list of layers. Uncheck the checkbox to exclude a layer from including in the generation of an image.
7

Opacity

7. Opacity
Set the opacity of the selected layer.
8

Exit editor after insertion check

8. Exit editor after insertion check
Select this option to close the image editor when the image has been created. If several images need to be created, turn this option off.
9

Insert To Page button

9. Insert To Page button
Open the Insert Image Dialog to insert the created image to the active page.
10

Insert To Site button

10. Insert To Site button
Open the Insert Image Dialog to insert the created image to the default import folder of the website.
11

Create Flexible Box button

11. Create Flexible Box button
Create a flexible box from the image. Please note that only images with background color are supported. The Create Flexible Box Dialog will be opened for cutting the images and inserting into the active page with a text element and all necessary CSS rules defined.
12

Cancel button

12. Cancel button
Cancel image editing and close this dialog.