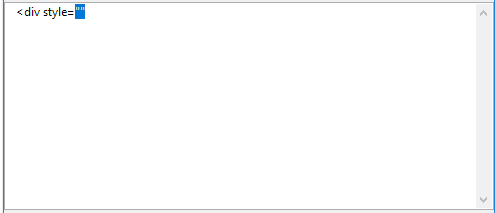
Use this source editor to insert small snippet of raw HTML or javascript to the page. Please note that if more than a thousand lines are added, the program will become slow.
Edit html source in this area. Please note that the validity of any html entered in this editor will not be checked. Any errors in this page will affect the whole page. For example, a missing closing tag will cause the whole page to render incorectly.
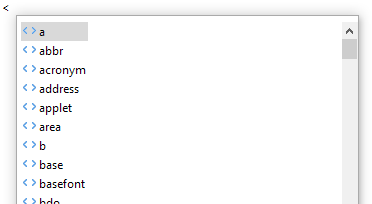
Type "<" will bring up a context menu to choose html tag. Press "Enter" to add the selected tag to the text. Press "ESC" to cancel that menu. To bring it up again, press "CTRL+Space".
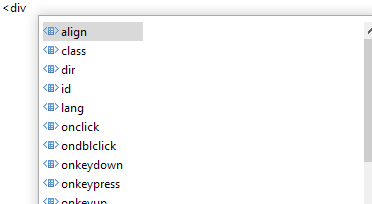
Enter a space after a tag such as "div" will bring up the attributes context menu for that tag. Press "Enter" to insert the selected attribute to the text or "ESC" to close that menu. Press "CTRL-Space" will bring up the menu again.
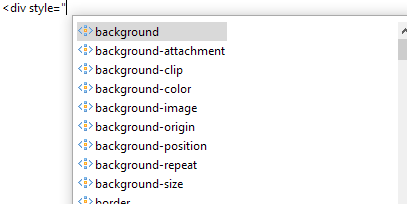
For attribute style, when pressing "CTRL-Space" between the quotation marks, a list of CSS style attributes will be shown. Press "Enter" to insert or "ESC" to cancel. Press "CTRL-Space" will bring up the menu again.
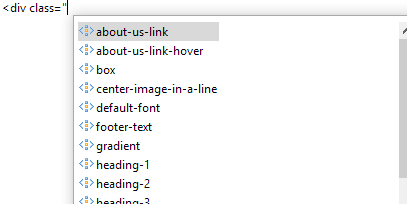
For attribute class, a list of styles created in the CSS Style Editor will shown in the context menu. Press "Enter" to insert the style or "ESC" to close the menu. You can also enter the class name without choosing any from the menu. Press "CTRL-Space" will bring up the menu again.
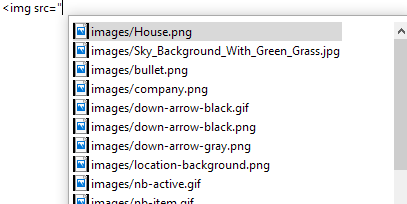
For attributes that need an image, a context menu will show all images within the website. The path of the image is relative to the root of the website. After pressing "Enter", the following text ", will be inserted to the text. You may need to enter the close quotation mark to the end of the generated text.
The width and height of image will be automatically entered for you. Using this method to add images has another bonus. Provided that the html is correct, any changes made to the name or location of the image within the website will be automatically updated here. However, the size of the image will not be updated.