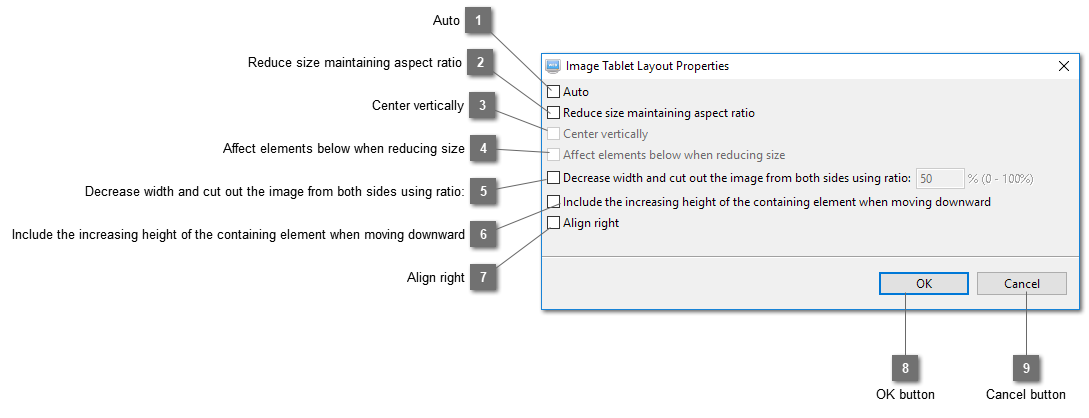
Select this option to let the program determine automatically what layout strategies to use. Owing to the dynamic nature of a web page. It is most likely that the strategies determined are not appropriate. Deselect this option will show what options have been determined automatically without considering its relationship with the surrounding elements. You can then customize your settings.
Decrease width and cut out the image from both sides using ratio:
Decrease width and keep the height of the image and cut out both side using the specified ratio. 0% will cut out the right side and 100% will cut out the left side and 50% will cut out equal width from both sides.
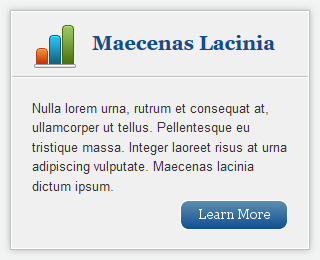
Example:
Image shows full width when the browser window width is greater than the page width:
When browser window width is smaller than the page width, the image shows a smaller version by cutting out from both sides using the specified ratio.
Include the increasing height of the containing element when moving downward
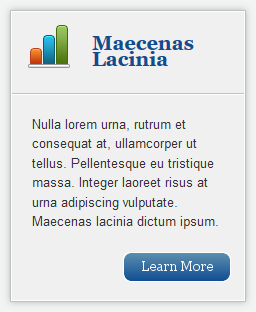
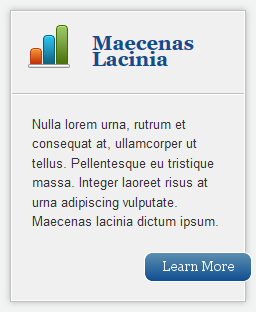
Move down the selected element by including the increasing height of the containing element. For example, the image "Learn More" is placed over a text element and it looks like it is within the text element. As it overlaps with the text element, it will not be moved downward when the height of the text element is increased because of the decreased page width. Selecting this option will make the "Learn More" image to include the increasing height of the text element and the results will look like the third image below:
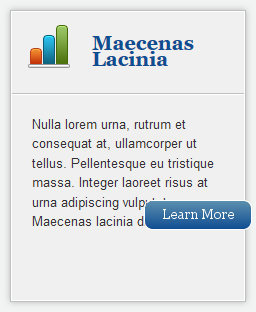
Align the selected element to the right side when moving to the left. Using the first image below as example. As we do not decrease the size of the image "Learn More", it will not stay within the text element. Select this option will handle the problem.