This section will show how to create a gradient button using the Image Editor. The button that we are going to create is shown below.
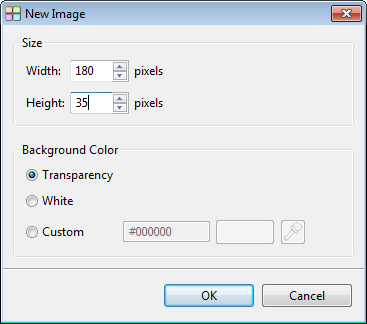
Select Tools -> Image Editor from the main menu. Click the down arrow of this button . Select New Image -> Blank. Create an image of size 180x35.
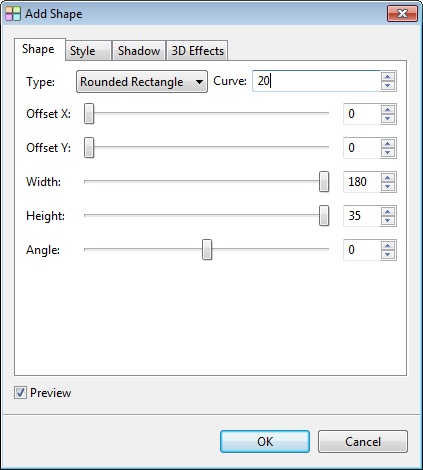
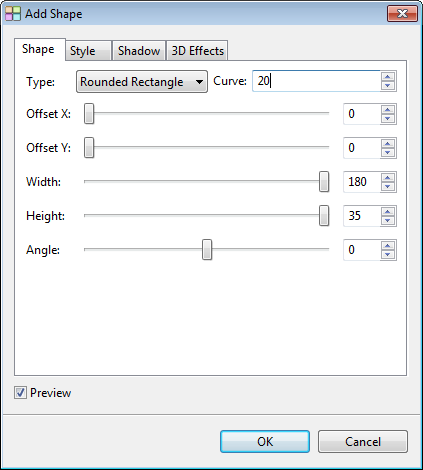
Click this button to open the Add Shape Dialog. Set the values as shown below. Click OK to create the image.
Click this button to activate Gradient Fill. Click on the Edit button to open the Gradient Editor. We are going to create a new gradient for this button. At the Gradient Editor, Click on the New button.
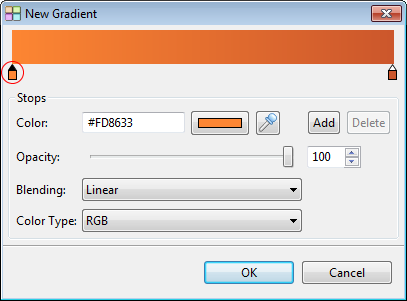
Click on the left color stop (the one with red circle) and set the color to #FD8633. Set the blending to Linear.
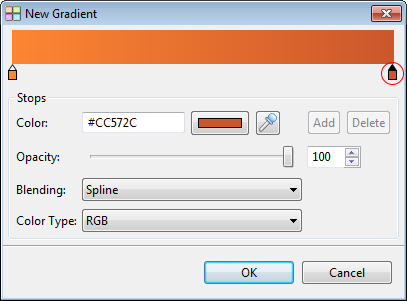
Click on the right color stop (the one with red circle)and set the color to #CC572C.
Press the OK button to create the gradient.
Press the OK button on the Gradient Editor to close it and the newly created gradient will be automatically selected.
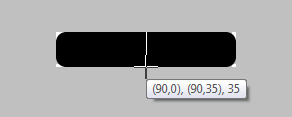
When the Fill Gradient function is still activated, move the mouse pointer over the image and stop around the coordinate (90,0). The location need not be exact.
Then press the mouse button down and drag downward. Stop the mouse at the coordinate (90, 35).
Release the mouse button. The image will now becomes:
Click this button to open the Add Shape Dialog again. Set the values as shown below.
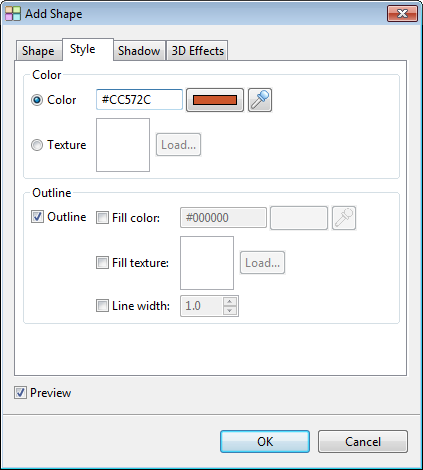
Select the "Style tab". Set the color to #CC572C. Select the option "Outline". Click OK to create this image. This will add a border to the image created in the previous step.
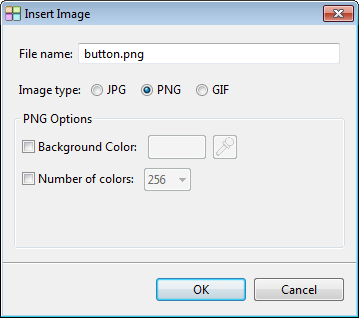
Click on the button "Insert to Site" and select PNG as image type. Enter the name "button.png". Click OK to create the button.